In this tutorial, we guide you through the process of using custom labels in FeedOps to improve product segmentation and optimize ad performance across platforms like Google Shopping, Microsoft Ads, and Meta. By categorizing products with custom labels, you can create highly targeted campaigns, ensuring better budget allocation and improved ROAS.
Key Steps Covered:
Accessing Custom Labels: Navigate to the ‘Product Feed’ section in FeedOps and locate the ‘Custom Labels’ feature.
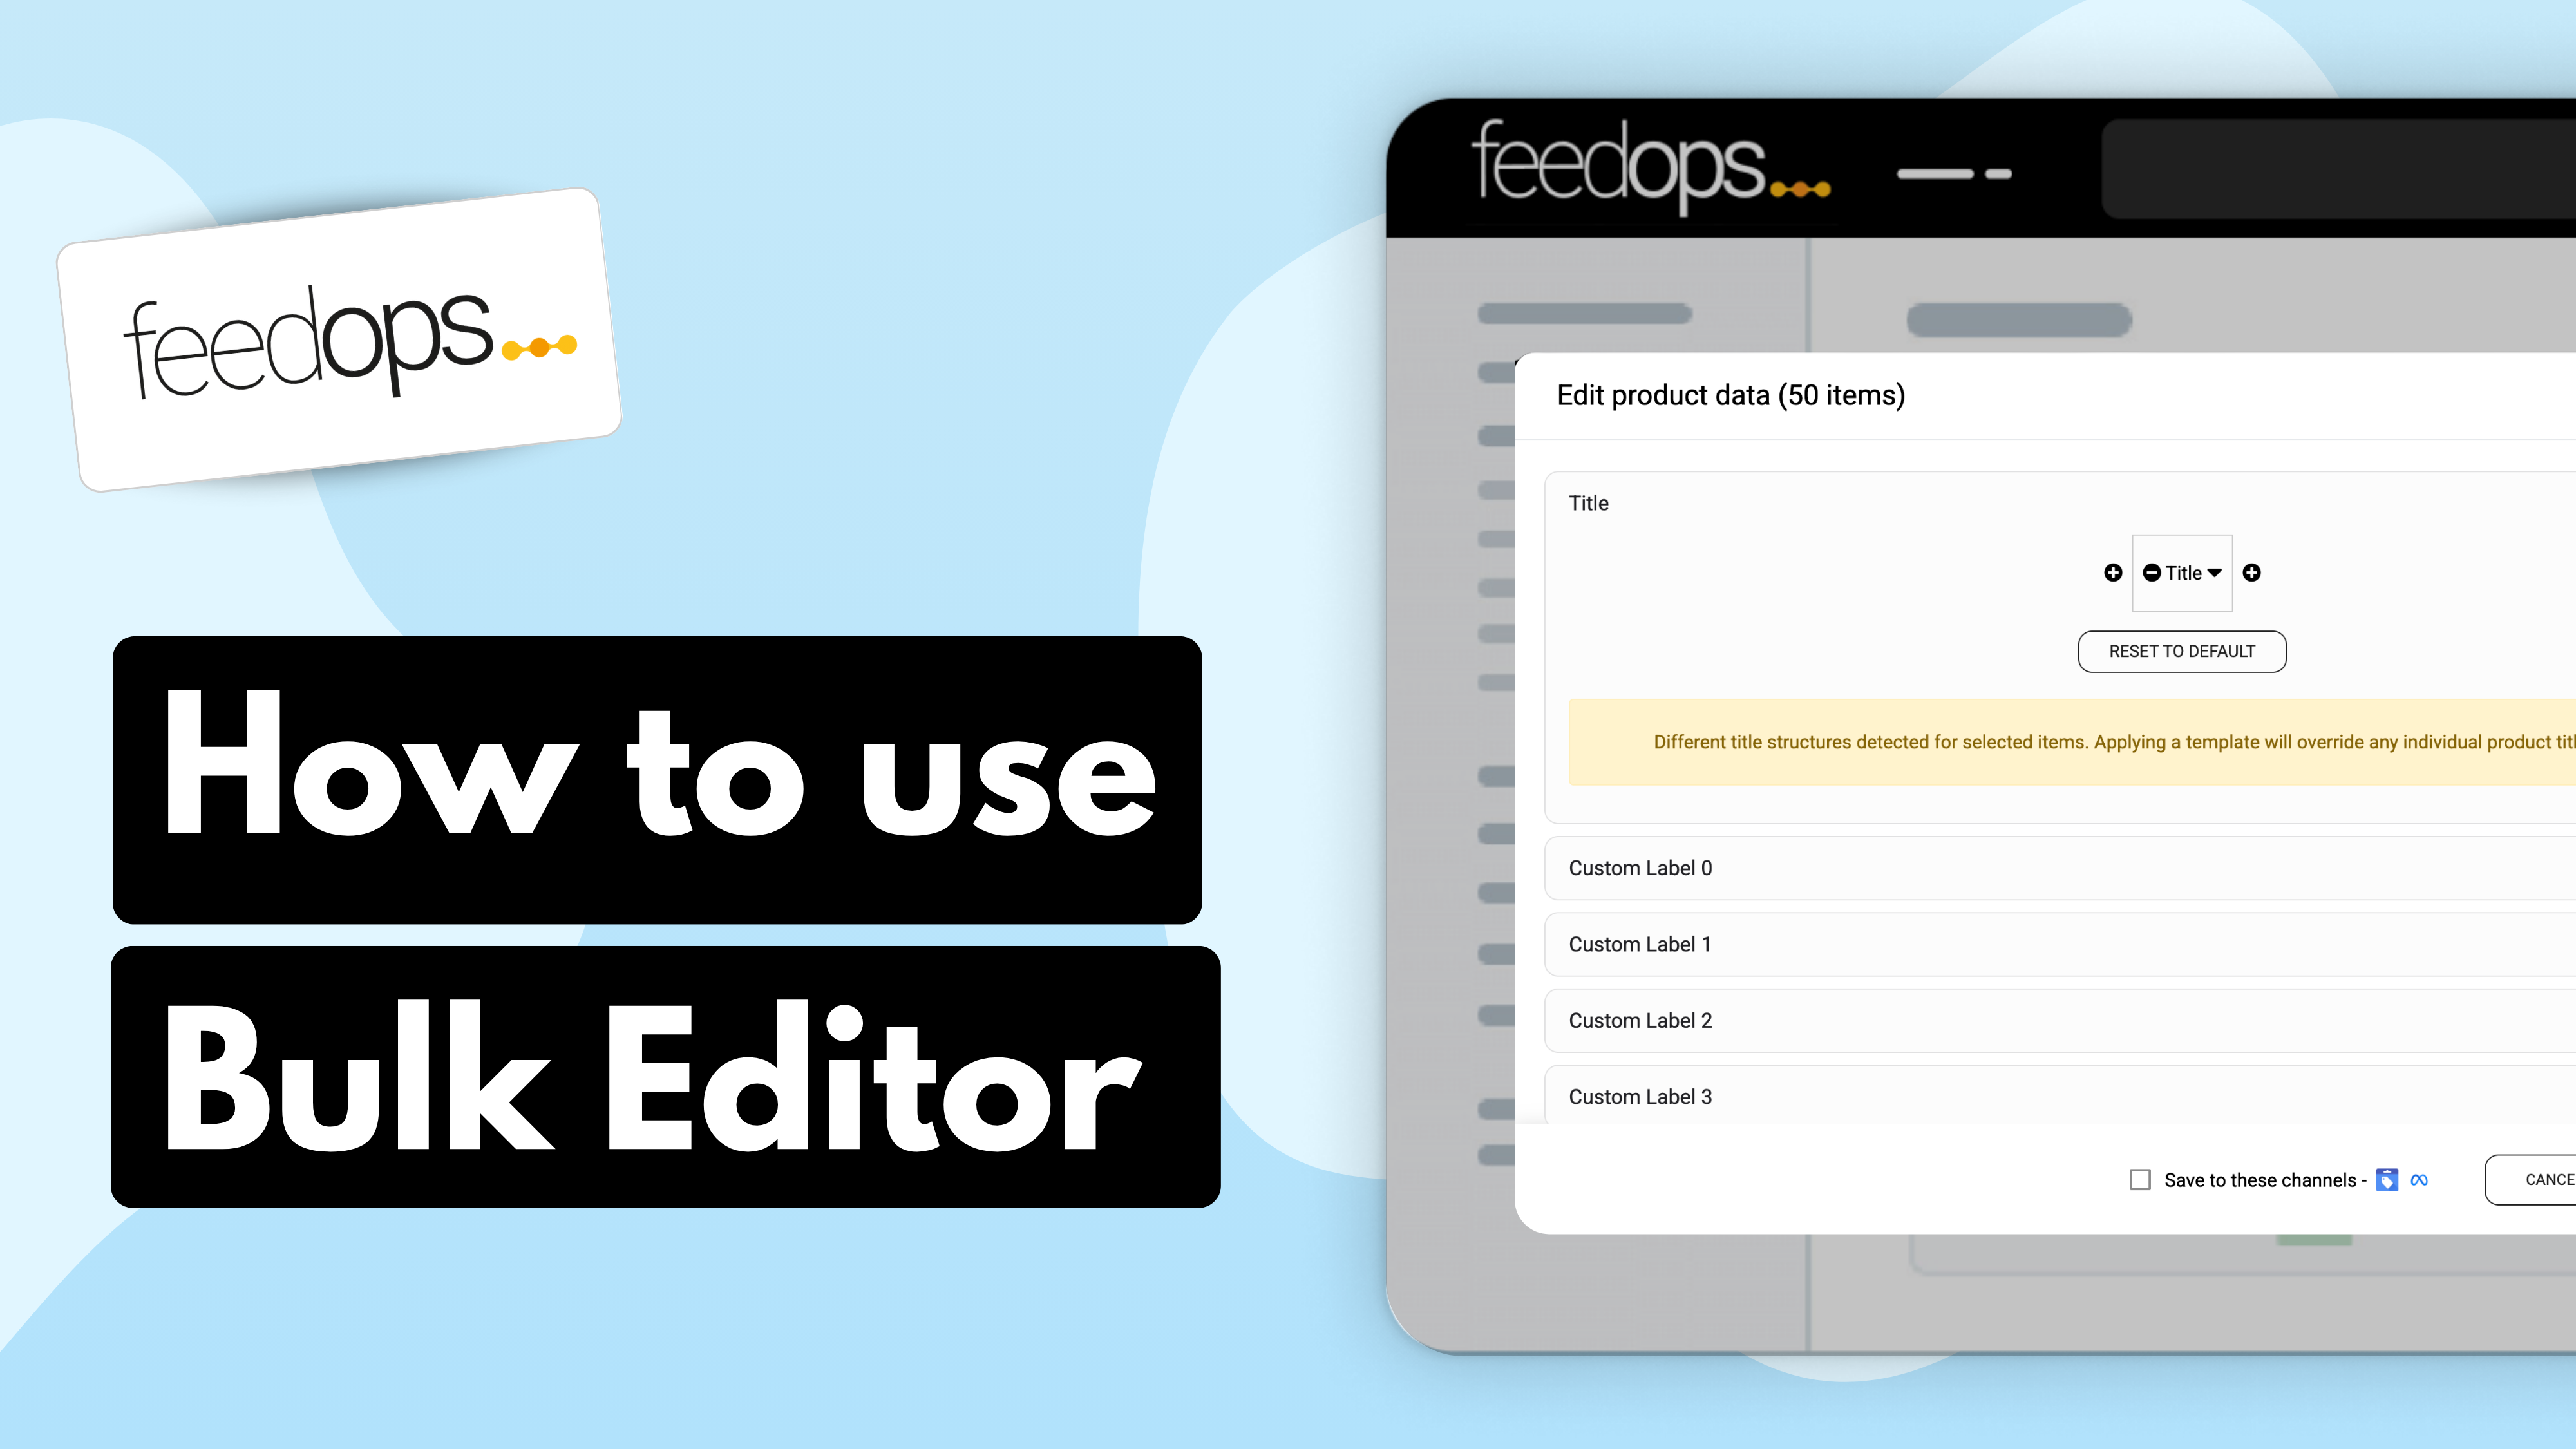
Applying Labels with the Bulk Editor: Use the bulk editor to quickly assign labels to selected products based on existing attributes like title, category, or margin.
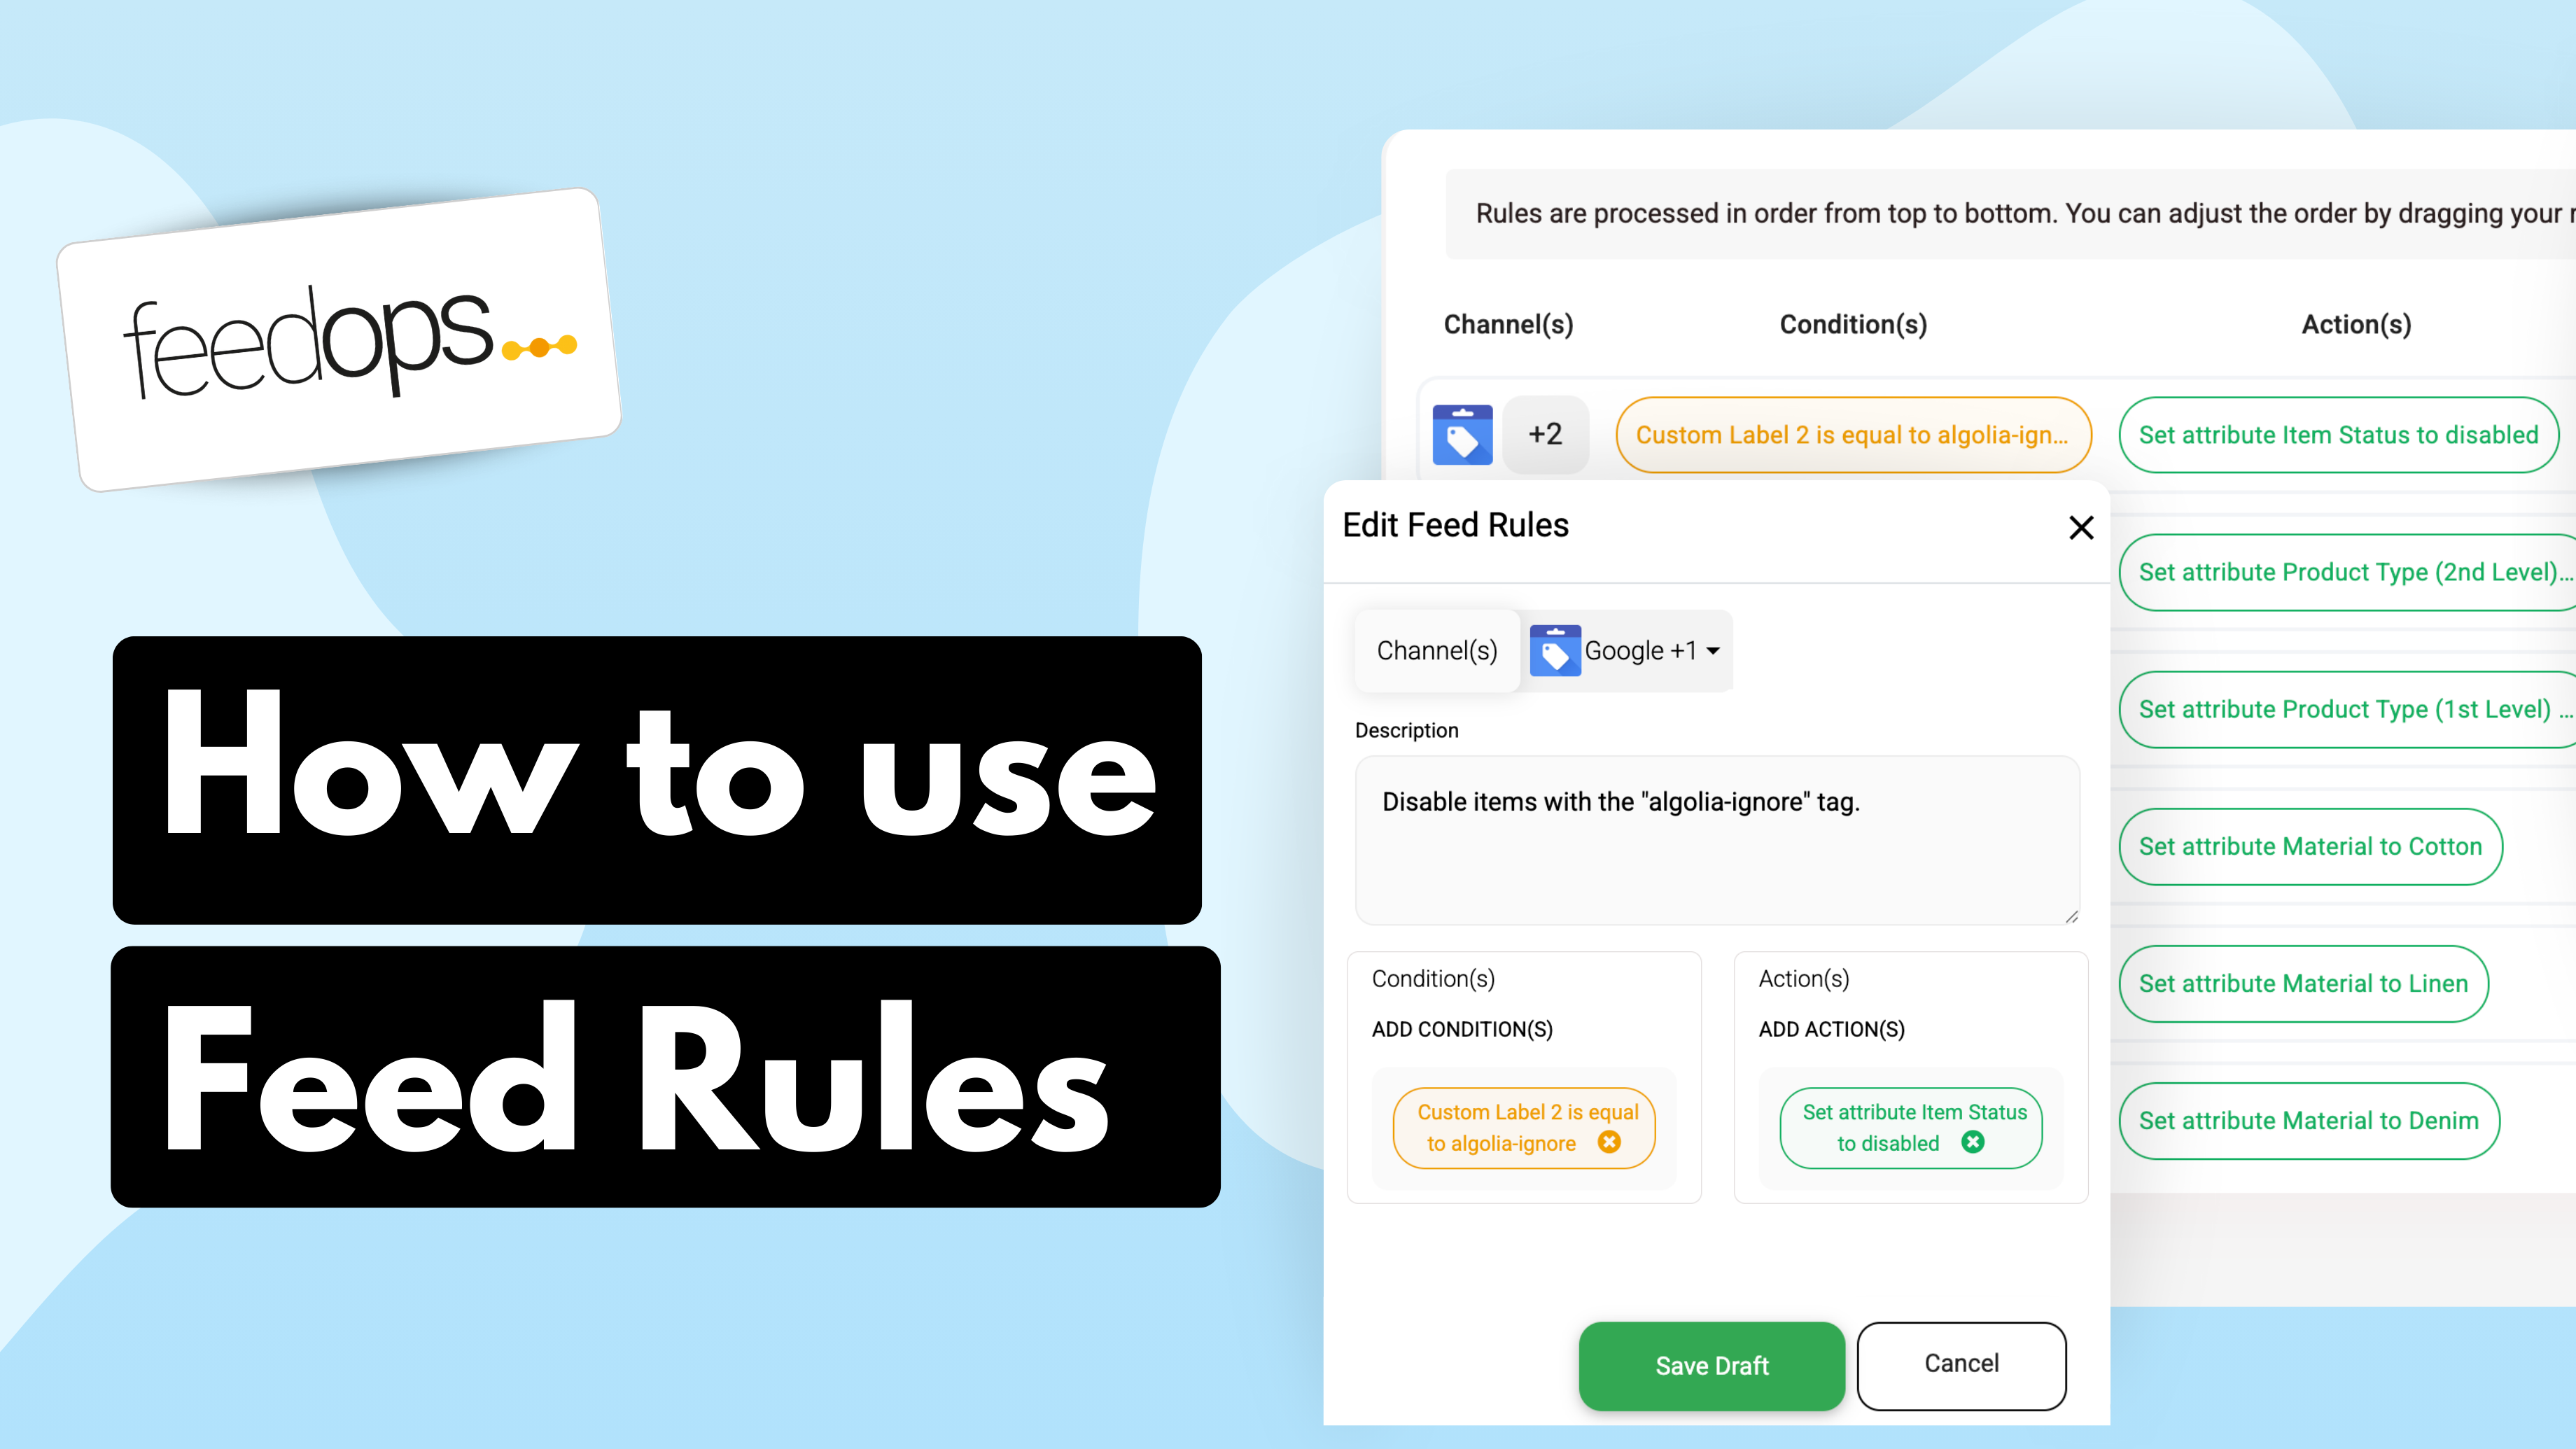
Automating Labels with Feed Rules: Set up Feed Rules to dynamically apply custom labels when new products meet specific conditions (e.g., product title contains “Summer” or “Clearance”).
Using Metafields for Advanced Labeling: Leverage metafields in your eCommerce platform to assign labels to products that are not easily filtered through standard attributes (e.g., drop-shipped items).
Reviewing and Syncing Updates: Once custom labels are applied, review them and sync your feed to ensure the changes reflect in your Google Merchant Center, Microsoft Advertising, or Meta catalog.
Benefits of Custom Labels:
Implementing custom labels allows advertisers to:
✅ Improve campaign targeting by grouping products based on seasonality, margins, or inventory type.
✅ Enhance budget efficiency by prioritizing high-margin or best-selling products.
✅ Streamline feed management with automated rules that update labels as new products are added.
✅ Maximize ROAS by segmenting and bidding more effectively across different ad platforms.
By leveraging FeedOps’ Custom Labels and Feed Rules, eCommerce businesses can take full control of their product feed strategy, ensuring better ad placement and improved campaign performance.